Bill import format overview
Last updated April 17, 2026
The bill import format helps you import a bill file that always has the same format. Map your columns, and the same mapping (bill import profile) is applied each time you upload your file.
A good practice is to test your import using a small number of bill records and a new batch each time. This lets you easily delete the test batch and bills.
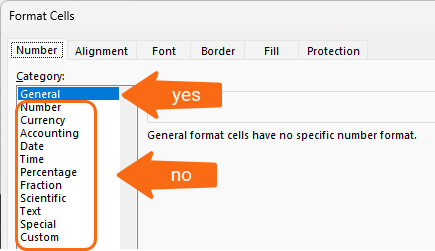
It's not recommended to use Excel number formatting. For example, don't use Currency or Accounting formatting.
Row limit for importing bills
To ensure reliable and smooth processing, limit the bill import file to 5,000 rows or fewer.
Why this matters:
- Faster processing
- Fewer errors
- Stable system performance
-
Steps to create a bill import profile
- In the Bills module menu, select Bill Import Profiles.
- Enter a name for the profile.
- Select the date format used in your file.
- Map the bill header information.
- Map the bill line types.
- Save the Bill Import Profile.
- TEST importing your file. REMEMBER to open a new batch so you can delete the batch of bills if you have errors.
-
Steps to import bills
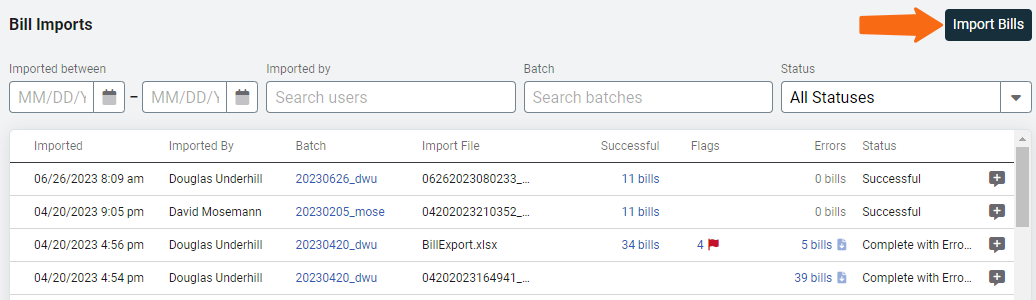
- In the Bills module, go to Bill Imports.
- Select Import Bills in upper right corner.
- Choose the file you want to upload.
- Select the format you want to use from the list.
- It's recommended to use a new batch for each bill import.
- Add a comment.
- Click Import.
- Review the results in the log.
- Download and fix any errors.
- Upload your corrected errors (kickouts) to finish creating all your bills.
- Review any bill flags.
Steps to create a bill import profile
Before you create the bill import profile, review your bill file. What columns do you want to import?
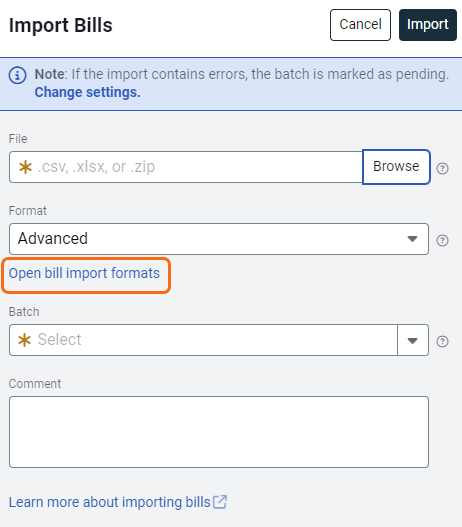
- In the Bills module, go to Bill Imports and then click the button Import Bills.
- Click Open bill import formats.
- Click the plus icon to Add a bill import profile.
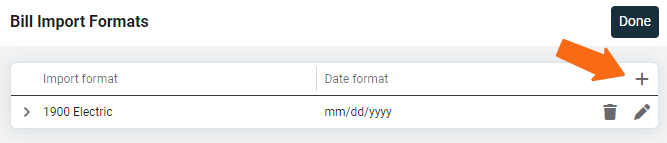
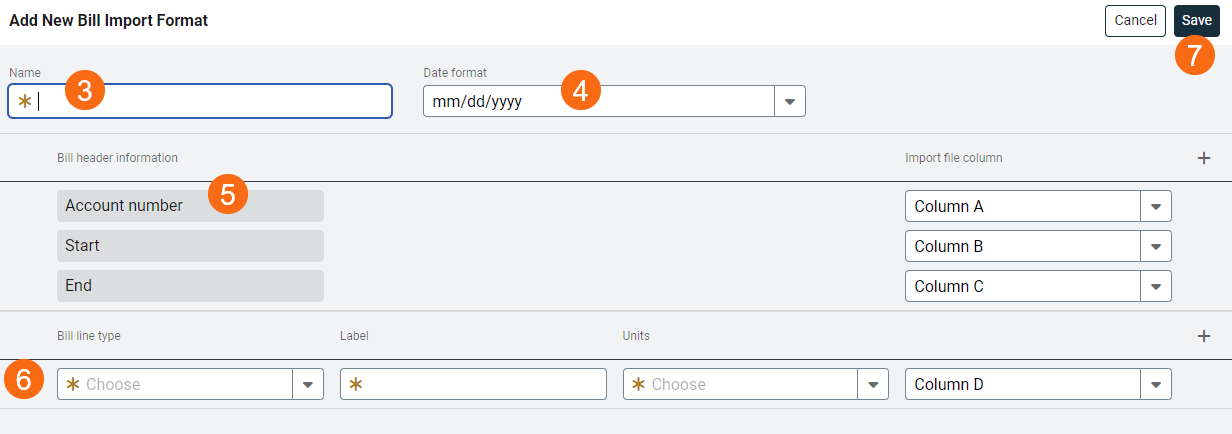
- Enter a descriptive name so you'll know when to use this profile.
- Choose the date format used in the bill import file.
- Map the required header information and add additional header information.
- Map the bill line types from your file.
- Click Save.

Edit or delete a format
Edit a bill import profile when your file format changes or to add more granularity to your imported bills.
When a bill format is no longer used, you can delete it to avoid confusion.