Vendor and Rates module overview
Last updated April 22, 2026
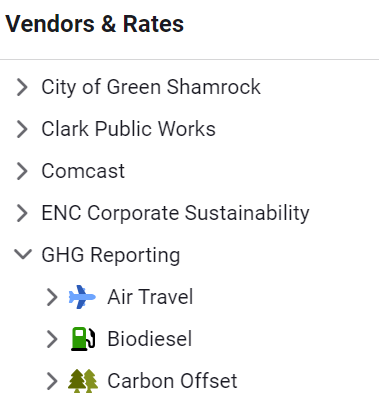
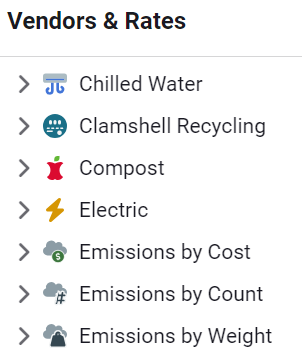
The Vendors and Rates module stores vendors (sometimes referred to as suppliers) and their rates in a familiar tree structure.
- Vendors provide utility service to meters and are linked to accounts.
- Each vendor has rate schedules for each commodity.

Two types of vendors
- Utility company
- Internal vendor (used to generate chargeback bills)
View all accounts for a vendor
You have two options for viewing all accounts linked to a vendor.
Option 1: In the application:
- Go to the Vendors and Rates module.
- Select the vendor.
- Click the Accounts secondary tab.
Option 2: With spreadsheet:
- Go to the Setup Spreadsheets Log screen.
- Click Download and select Update Spreadsheets.
- Download the Update Accounts spreadsheet.
- Sort the spreadsheet by the Vendor Code column.
Steps to delete a vendor
- Go to the Vendors and Rates module.
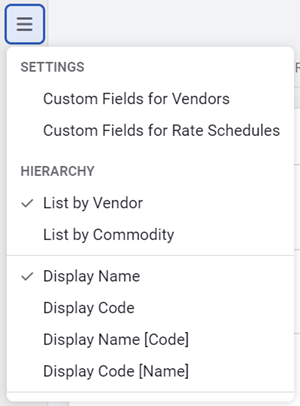
- In the module menu (three stacked lines at the top of the hierarchy panel), select List by Vendor.
- Open the Actions menu.
- Select Delete Vendor.
You can only delete a vendor in the Vendors and Rates module when using the List by Vendor view. Use the Actions menu to delete the vendor.
Steps to create a new vendor
- Go to the Vendors and Rates module.
- Click any existing vendor.
- Open the Actions menu.
- Select New Vendor.
- Complete and save the form.
Vendors and rates module menu
|
Settings |
|
|
Custom Fields for Vendors |
Edit and create custom fields for vendors. |
| Custom Fields for Rate Schedules | Edit and create custom fields for rate schedules. |
|
Hierarchy |
This section determines how your vendors and rates are displayed. |
|
List by Vendor |
|
|
List by Commodity |
|
|
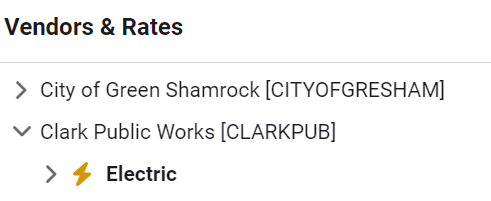
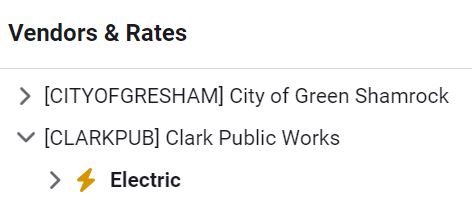
Control your tree view by choosing name, code, or both. |
|
|
Display Name |
|
|
Display Code |
|
|
Display Name [Code] |
|
|
Display Code [Name] |
|